Theory: Since my hamster did most of her running in her wheel, it made sense to count revolutions of the wheel and multiply that by the circumference. Being an avid cyclist, I knew of a device that already did this, my bike speedometer.

There are two important elements here, the magnet and the sensor. This sensor is rather simple, it's just a reed switch that is triggered every time a magnet comes near it. I just needed to construct something like this on the hamster wheel and hook it up to the computer.
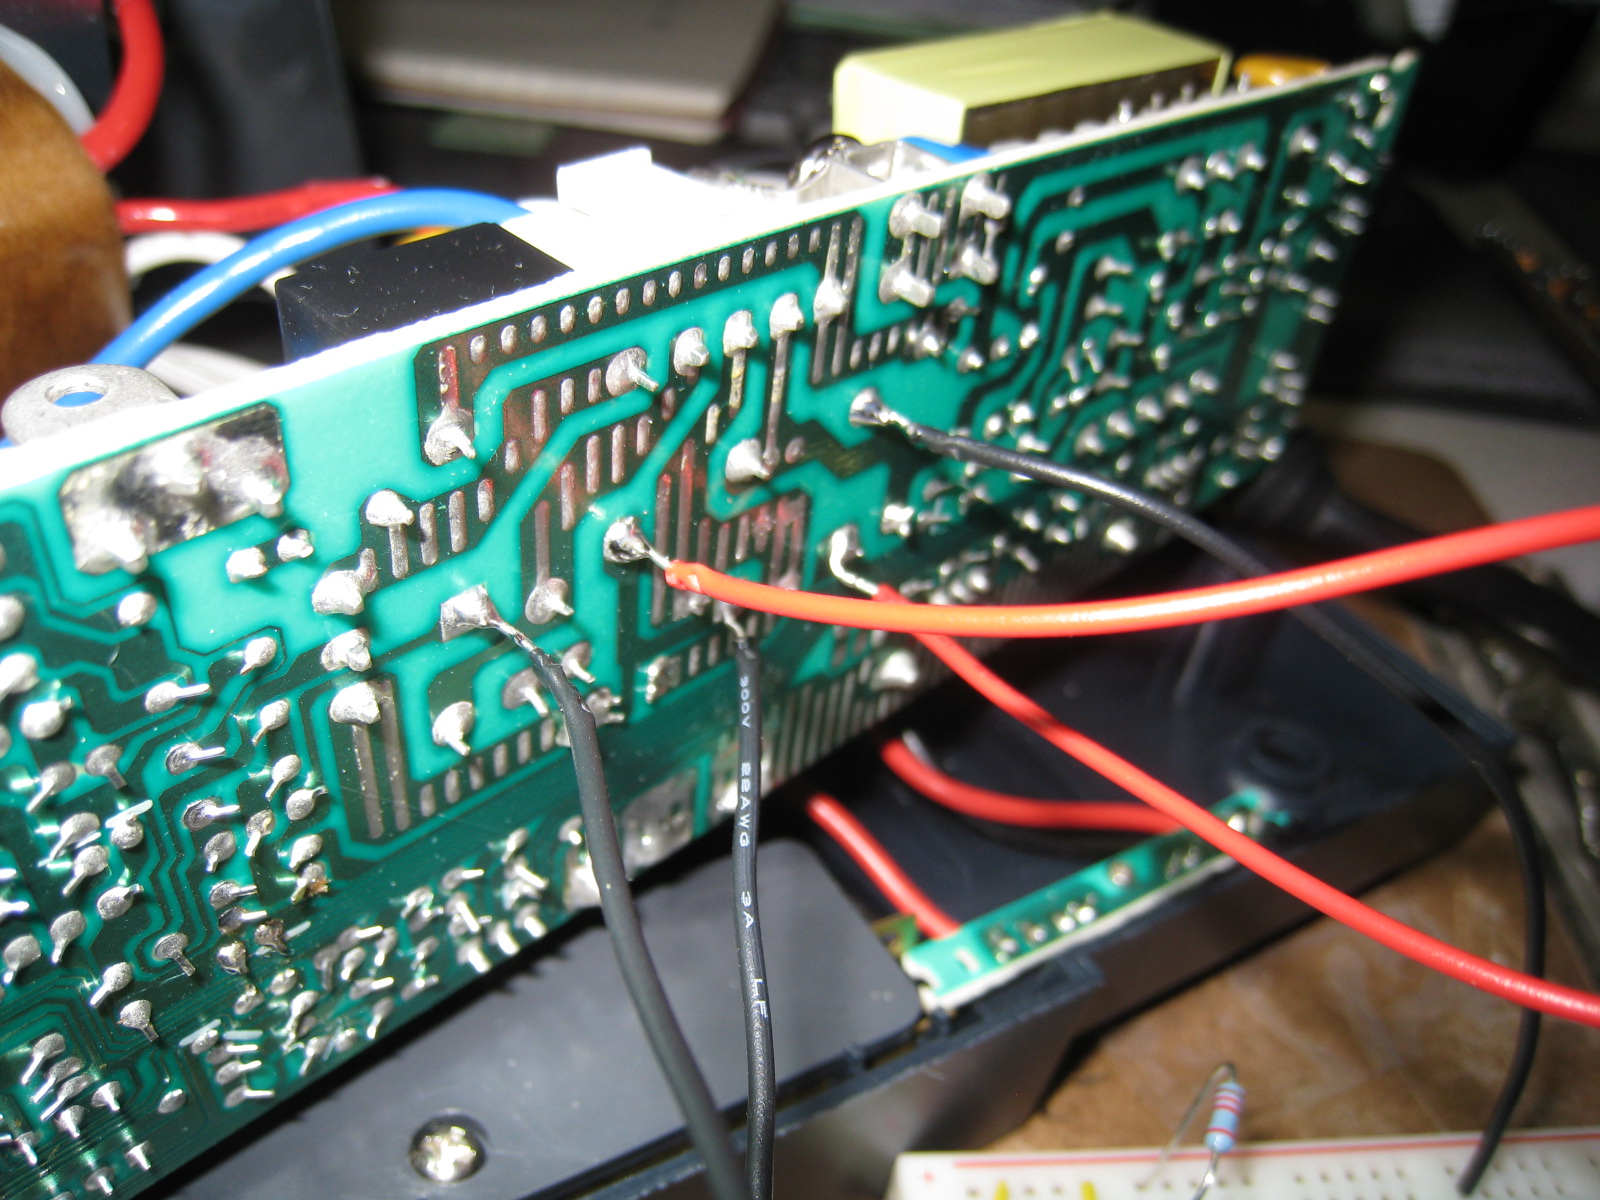
Second, I needed to figure out was how to read the state of this switch from the computer. There are all sorts of ways to do this but I was looking for something quick, easy, and cheap. It turns out that the serial port on your computer has two pins DTR (Data Terminal Ready) and DSR (Data Set Ready) that'll be sufficient. In code, you can control the DTR pin and read the DSR pin. By shorting the two through the reed switch you can check whether or not it's on.
Construction: I found most of what I needed for this around the house.

- reed switch (from a home security system)
- DB9 female DSUB solder connector (i.e. a female serial port connector)
- magnet (from a hard drive)
- mounting supplies (pen, zip ties, glue)
- wire (thick so the hamster can't chew through it)
Putting this together was rather simple. I just attached the pen to the wheel with some zip ties and glue and then attached the reed switch to the pen. I broke the magnet in half and used it to keep itself in place. After that I just needed to wire it up and connect each side of the switch to the DTR and DSR pins on the serial port connector.

Now I just needed to write some code. I did this in python but this can be written in any language with a serial port library.
import serial
ser = serial.Serial("/dev/ttyS1")
circumference = 0.000396 # miles
def waitForPinOff():
while ser.getDSR() == 1:
1 # Don't do anything while we wait.
def waitForPinOn():
while ser.getDSR() == 0:
1 # Don't do anything while we wait.
ser.setDTR(1)
while 1:
waitForPinOn()
waitForPinOff()
distance = distance + circumference
All this is doing is connecting to the serial port and turning on DTR (i.e. setting the pin to 5V). It then waits to see DSR turn on (i.e. the switch is closed) and increments the distance by the circumference every time that happens. There's a couple things you I did to clean up the data from there (and here's some better code for that) but that's basically it! Here's the final set up with Lizzie the hamster.

Technologies: Magnet, Reed Switch, Basic Electronics, Python, Hamster